Looking to add an on-board 12v air compressor for usage in emergency situations, inflating of tires, recreational purposes (bike tires, balls, kayaks, etc.) and for simple cleaning (blowing out sand, dirt, etc.). I know there are various offerings from VIAIR and ARB however I didn’t want to spend hundreds of dollars since I knew I wouldn’t be using this everyday.
I decided to go for a sort of DIY. After doing some research on generic 12v high flow compressors, I went with this unit on Amazon. https://www.amazon.com/dp/B09F9L6HFK
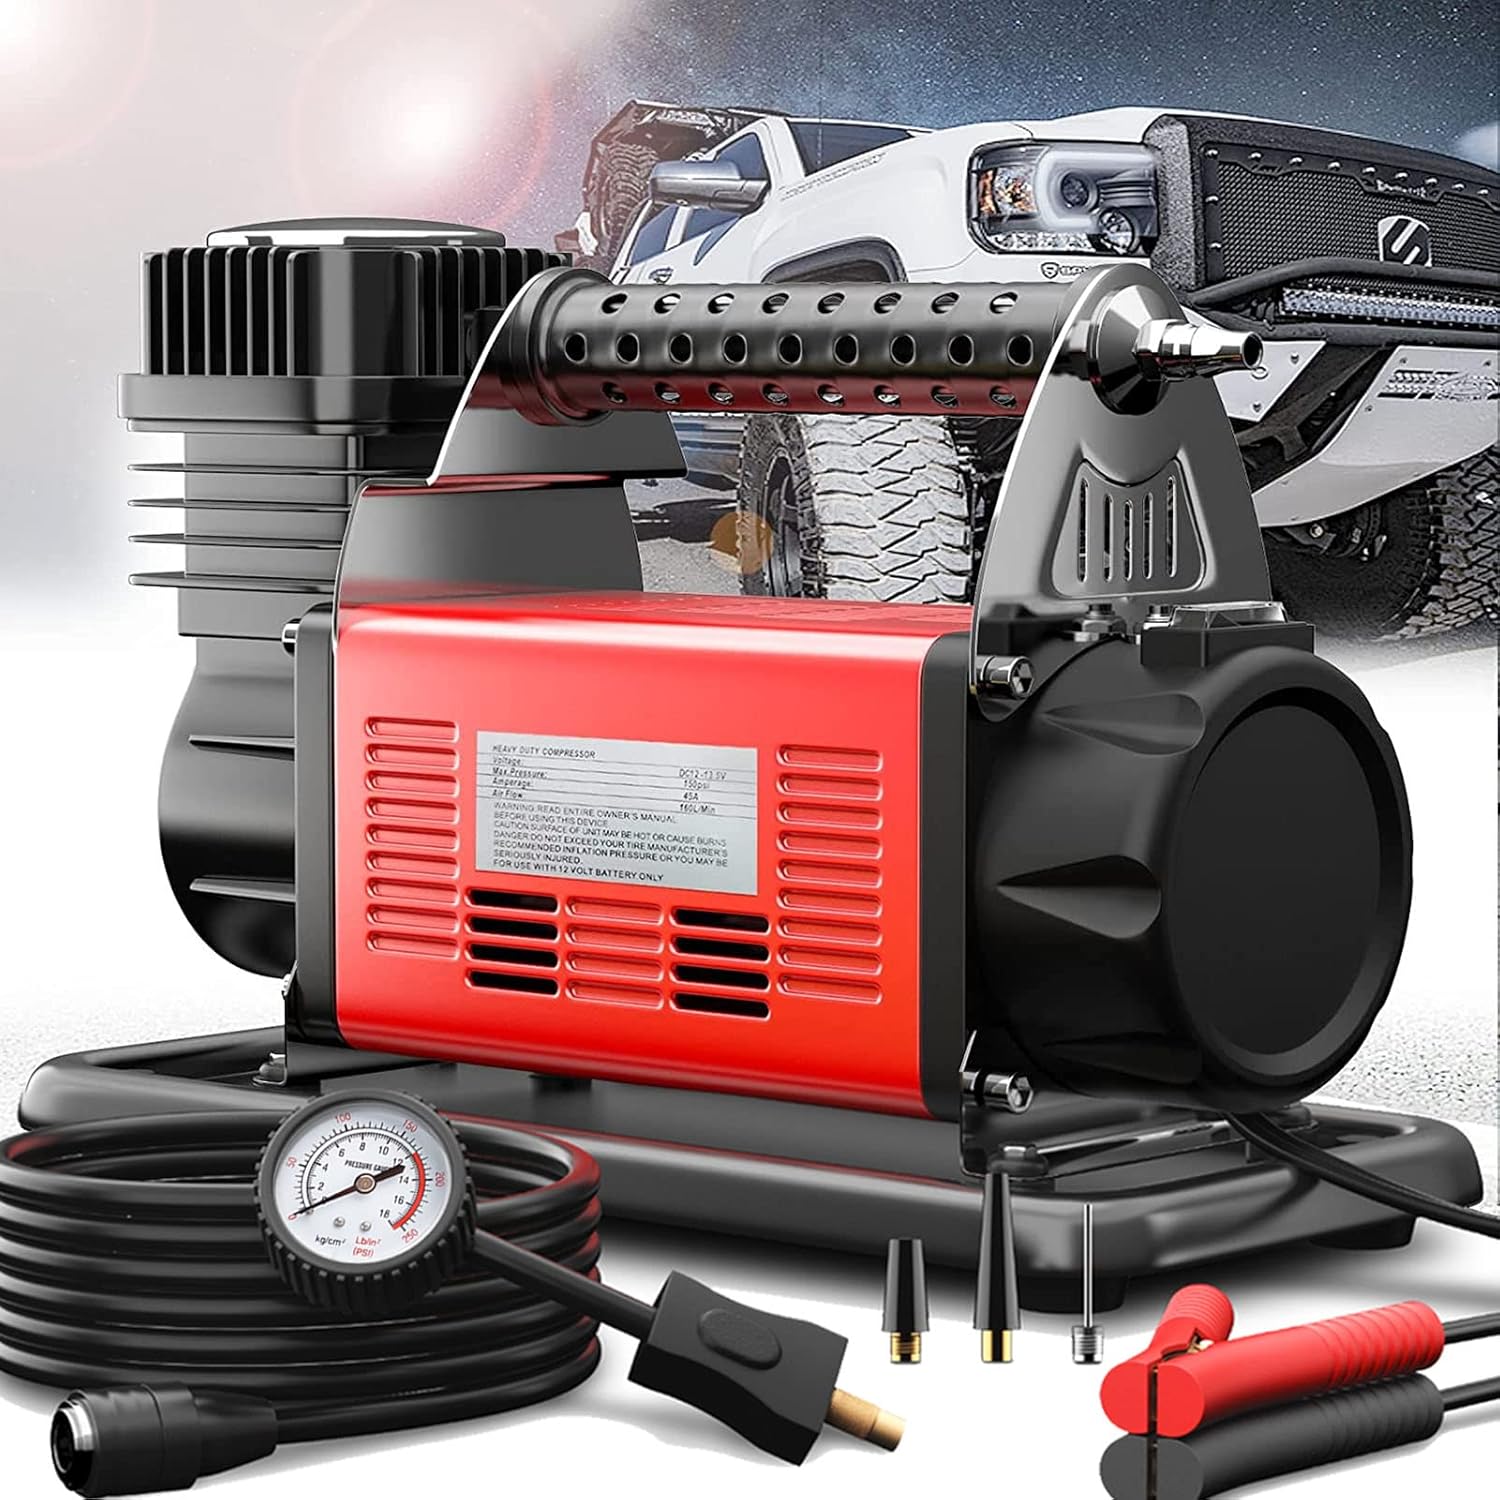
It produces 5.65 CFI and max 150 PSI drawing 45 Amps @ 12v. So its not your average tiny 12v compressor. I needed something like this in order to ensure it would fill up my rear dual tires on our 350 HD van.
Test fitment verified that it can be mounted up under the driver’s rear corner of the van, sideways. So it wouldn’t hang down since it fits up in between the frame rails which is a positive. Of course a small enclosure using aluminum angle and some plastic pieces as side-walls will be fabricated to act as a housing for the compressor.
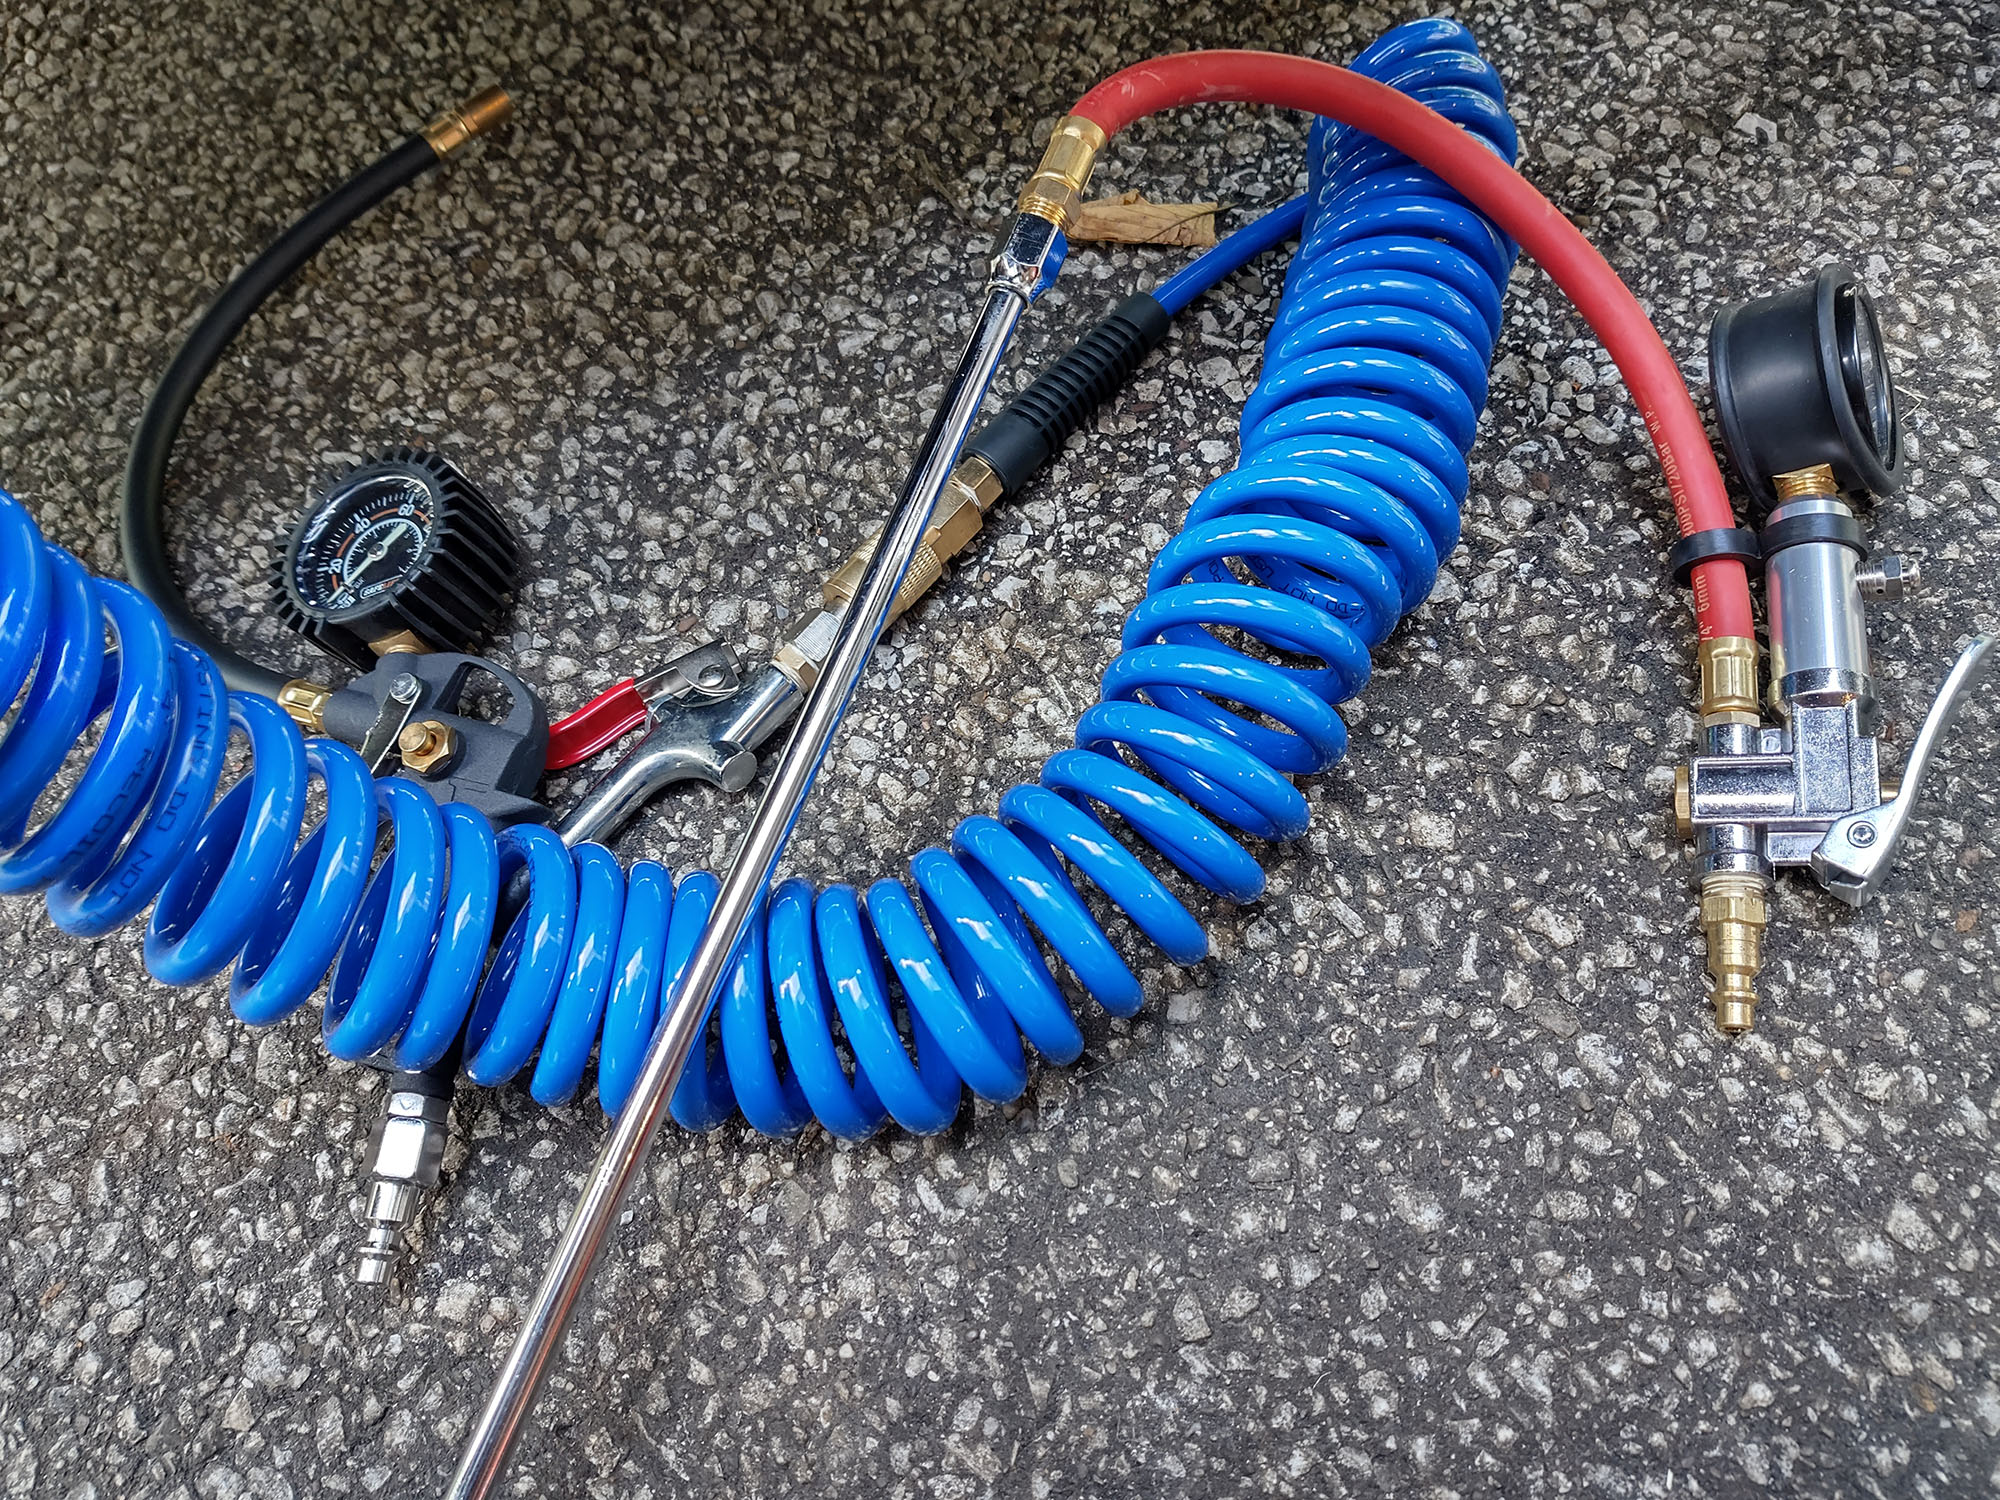
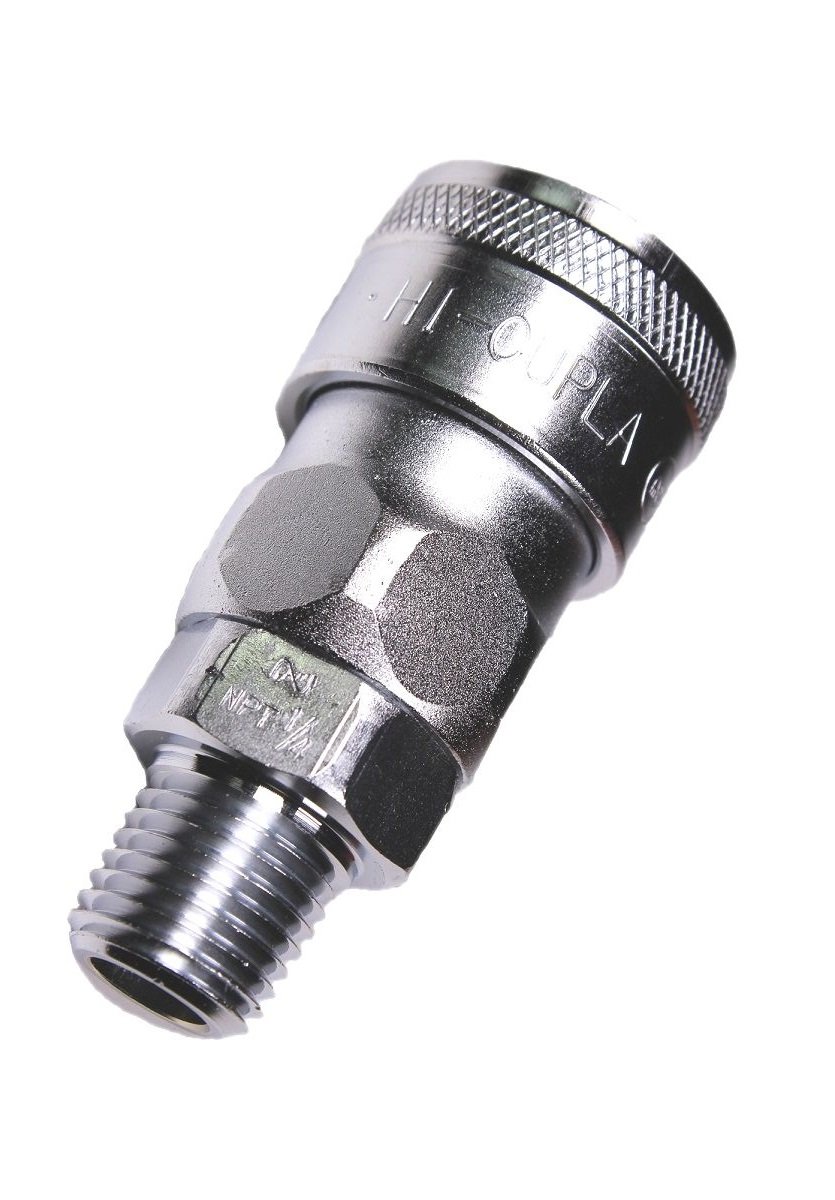
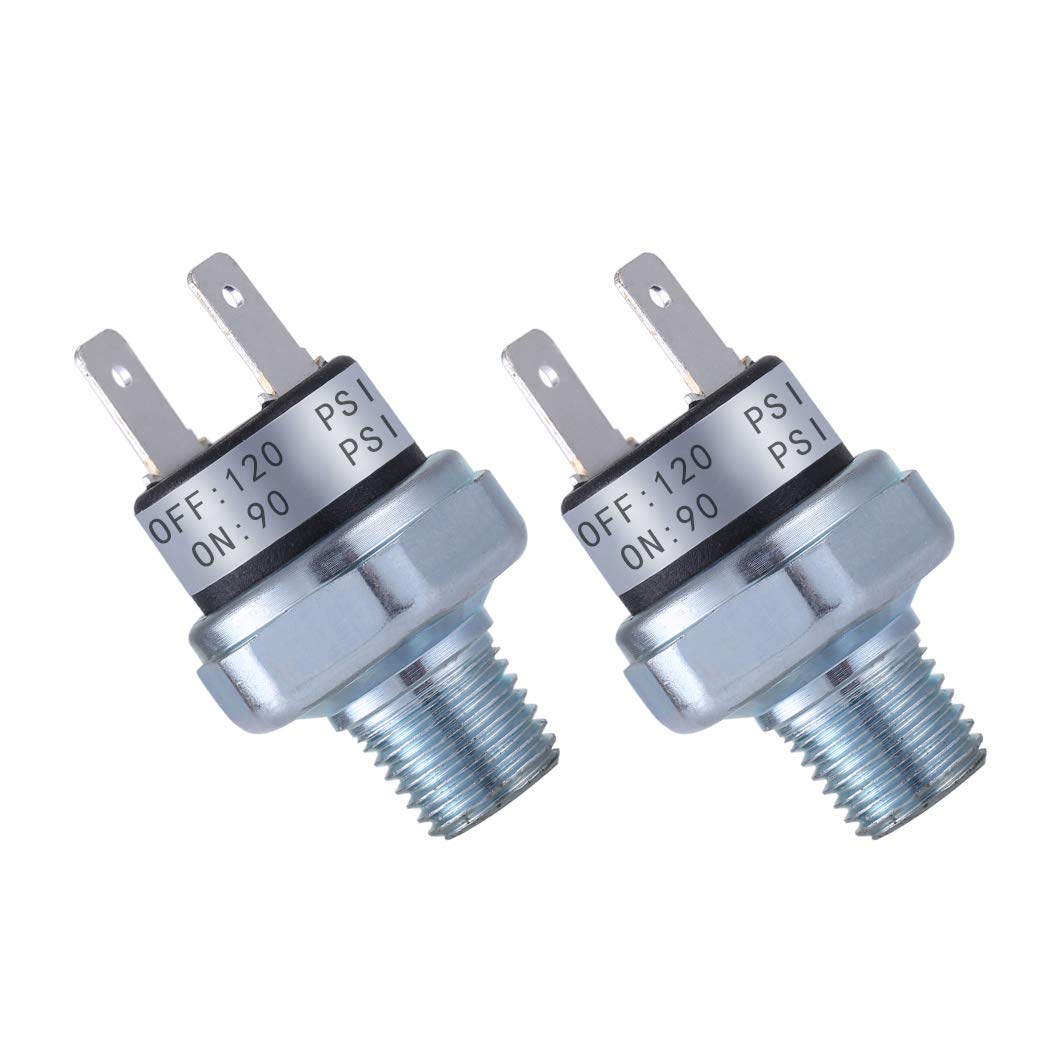
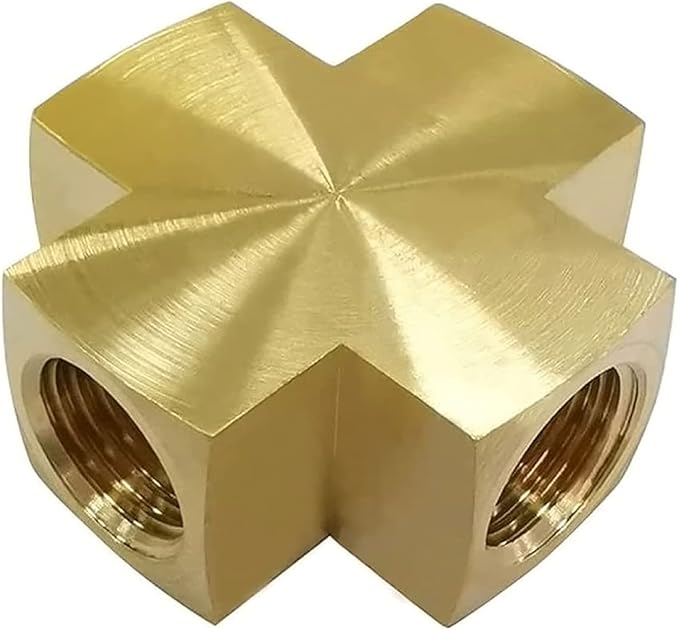
Since it doesn’t have a tank, it just runs until turned off (via fused toggle switch). Although it says it has an auto power-off switch (overheating, amperage draw), I want to add a PSI-based cutoff. So I will be using a small 4 port manifold and a PSI cutoff switch tied into the toggle switch. The compressor also uses a Japanese style quick disconnect so the manifold will convert from that style to standard 1/4″ industrial air quick disconnect. Here are the parts I will be using:

As for powering it…the plan is to fuse directly to my house battery bus bars. I guess some sort of breaker should be used as well for main power cutoff.
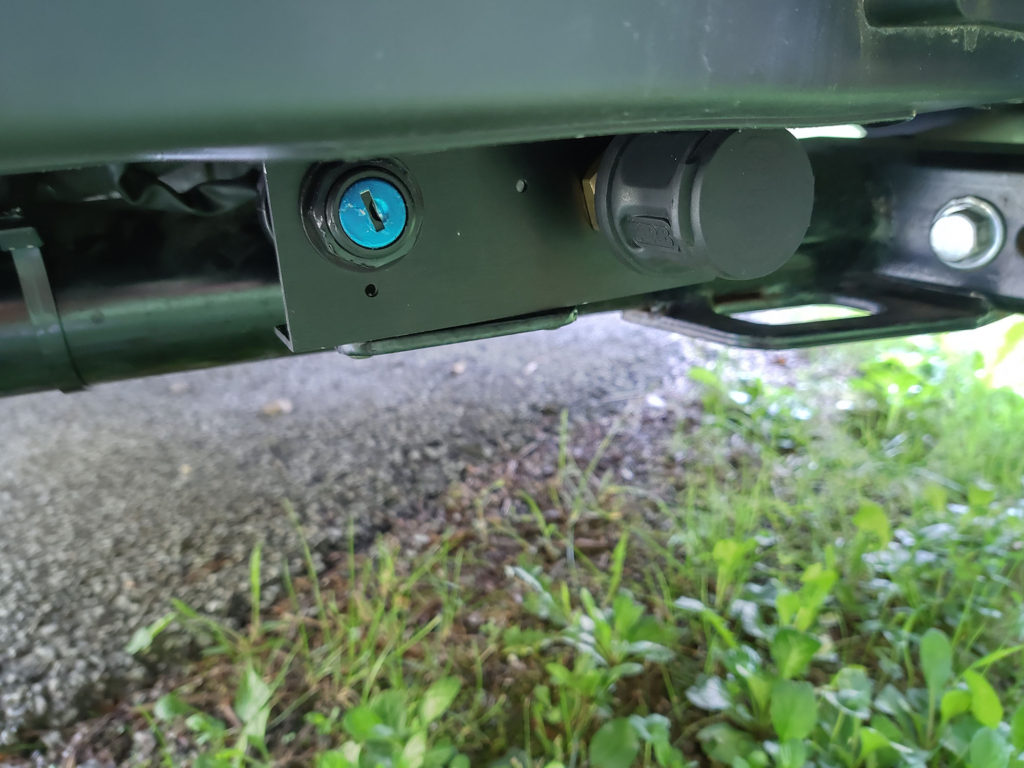
Finally for access to the thing, I was planning on fabbing a small mounting plate that would house a female quick disconnect and a key switch to turn on/off the compressor. The mounting plate would be mounted under the rear bumper alla hitch wiring mount plate.
Here is the inspiration for this install: http://roadtreklife.blogspot.com/2022/02/installing-on-board-air-compressor-maxi.html
More to come…
UPDATE – 7/23/22
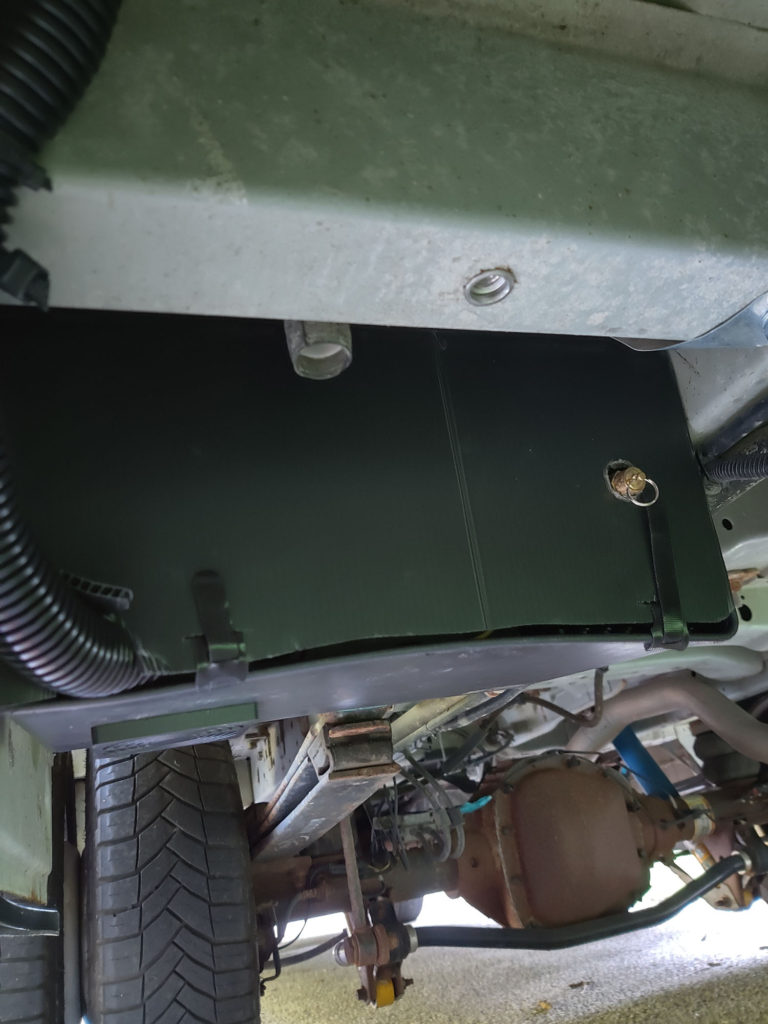
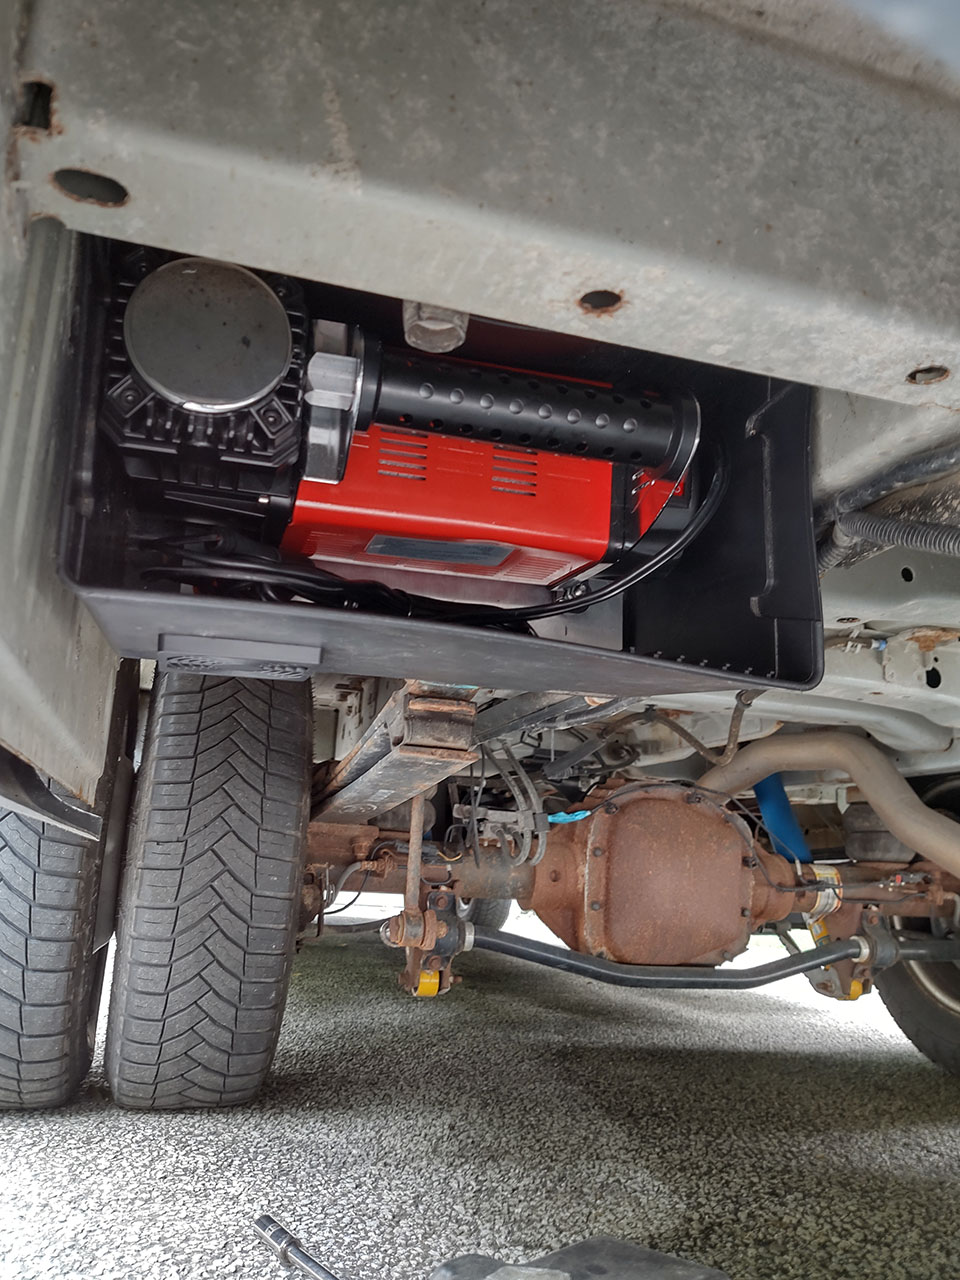
OK now that I have some spare time between vacationing and what not I went ahead and brainstormed some mounting ideas. I wanted the compressor to go in a certain area, behind the rear driver’s side wheels (dually, 350 HD is my model), and wanted it to be tucked up as close to the floor as possible. I used what I had laying around the garage including things I had left over from converting the van.
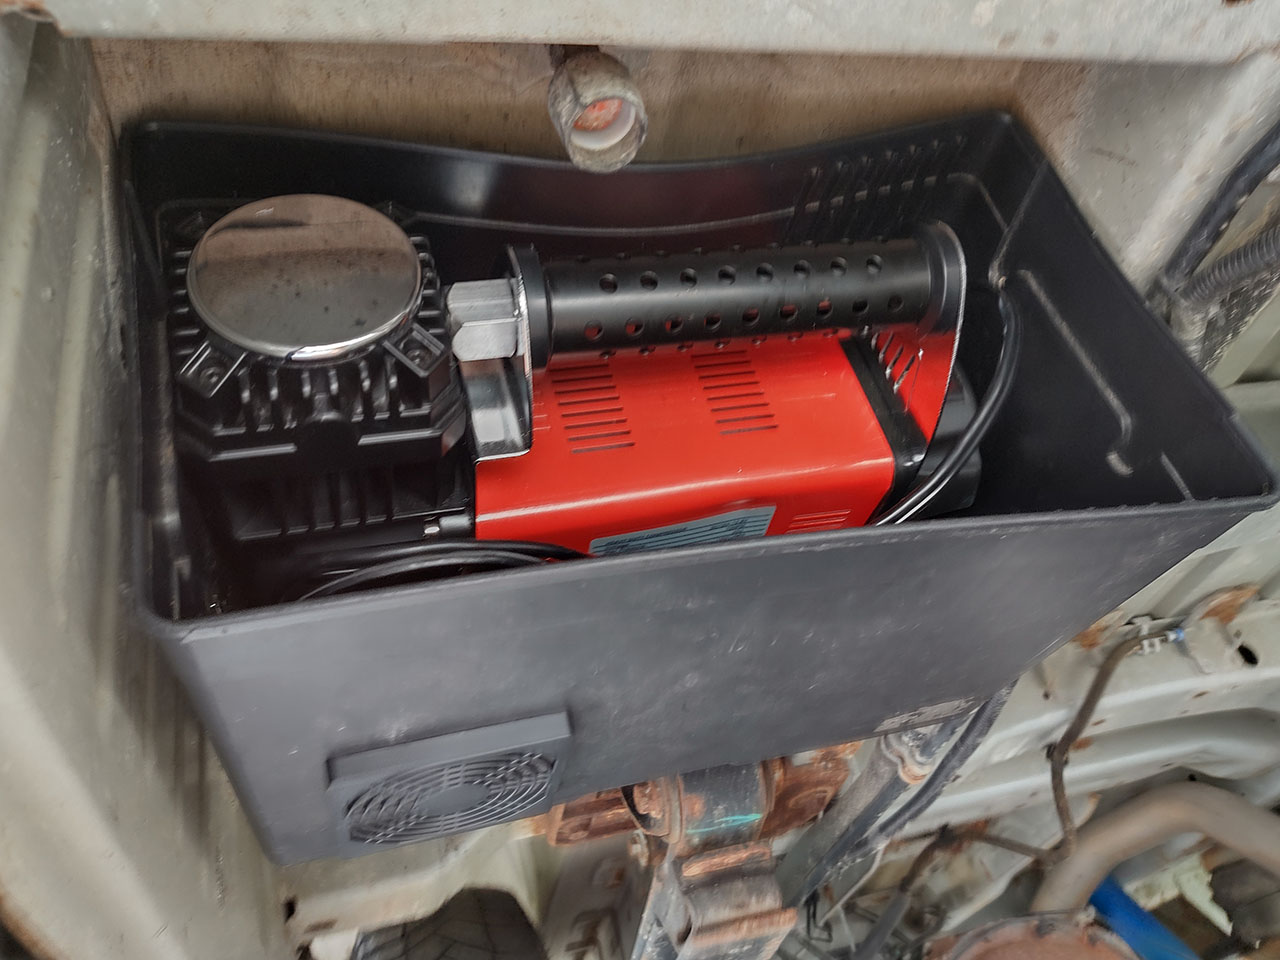
Firstly, I took some M12 stainless rivnuts and installed them into some existing holes of the subframe. You can see some of other holes in the pics below…there are many of them. I then took a battery box I had laying around and decided to use it as a 3 walled enclosure. I had to trim it alittle with a dremel (the side handles) in order to get it to tuck up within the rails. I do plan to make a cover for the back side, probably out of corrugated plastic or something like that. I wanted this enclosure cause 1) the spray from the wheels is directly in the path of this mounting location and 2) pretty sure the compressor I choose to use (see 1st post) is not meant to get wet (although there aren’t many electronics between the motor, power switch, breaker and thermal cutoff switch).
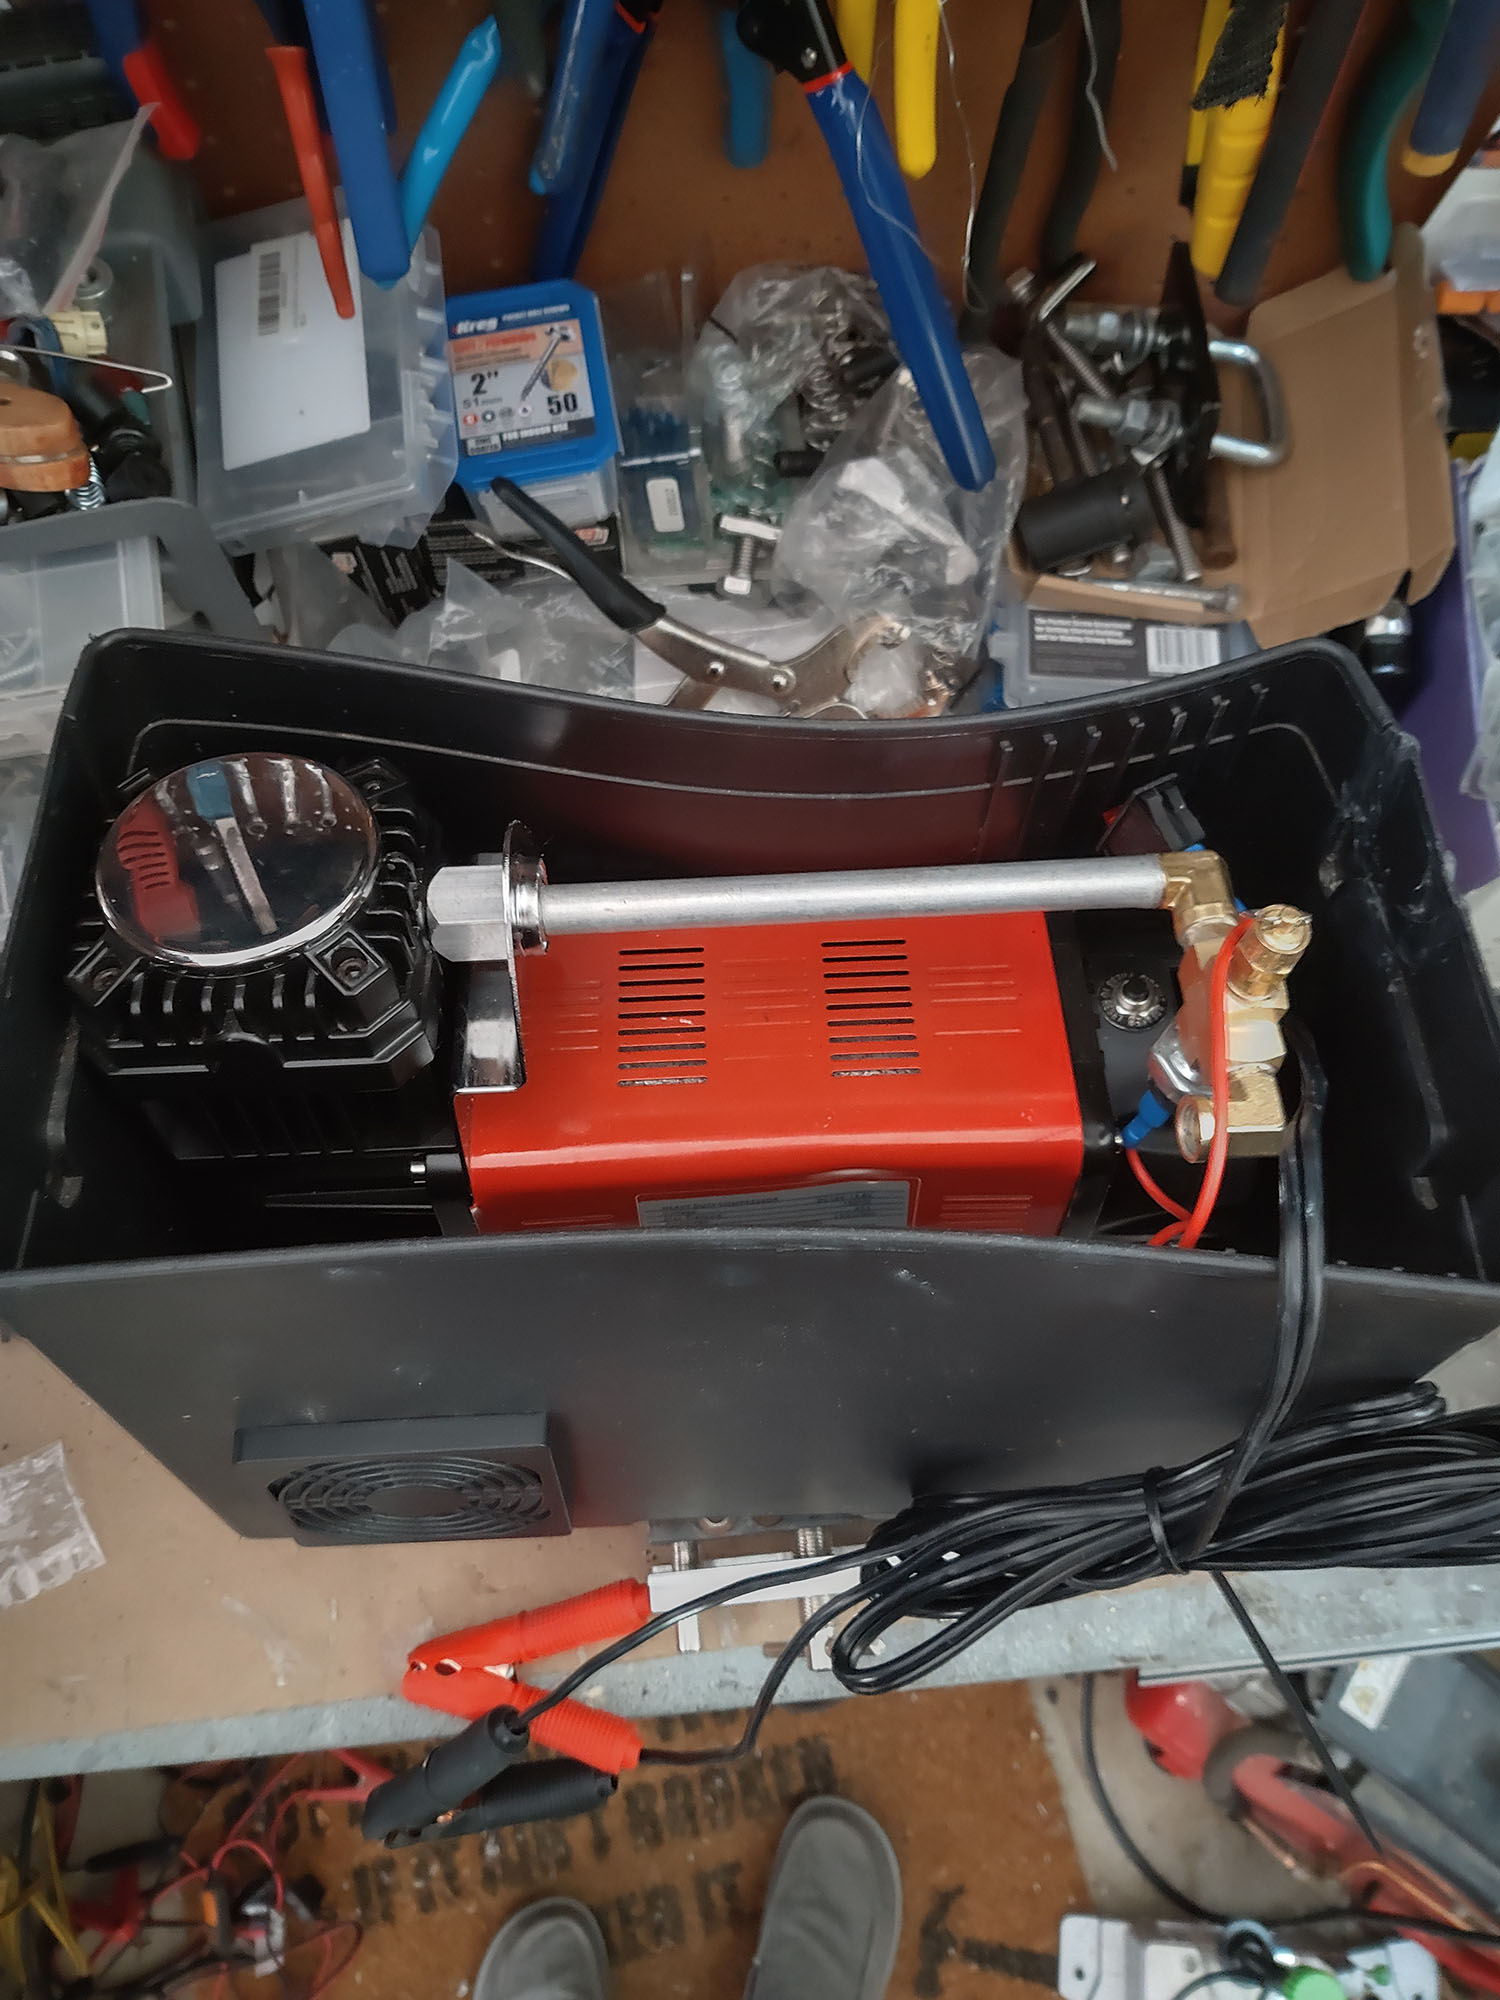
I used some Unistrut L brackets (super thick metal), some 6 inch Unistrut straight 4-hole brackets and 1/4″ plate of aluminum. The compressor is mounted to the aluminum plate using the rubber bushings it came with but I removed the base plate/tray that came with the compressor since I found it too flimsy for this application. the 1/4″ aluminum plate is not going anywhere. I then mounted the plate to the L brackets/straight Unistrut brackets through the battery box. Everything is pretty tight as is. I used some blue loctite on the threads as well as lock-nuts.
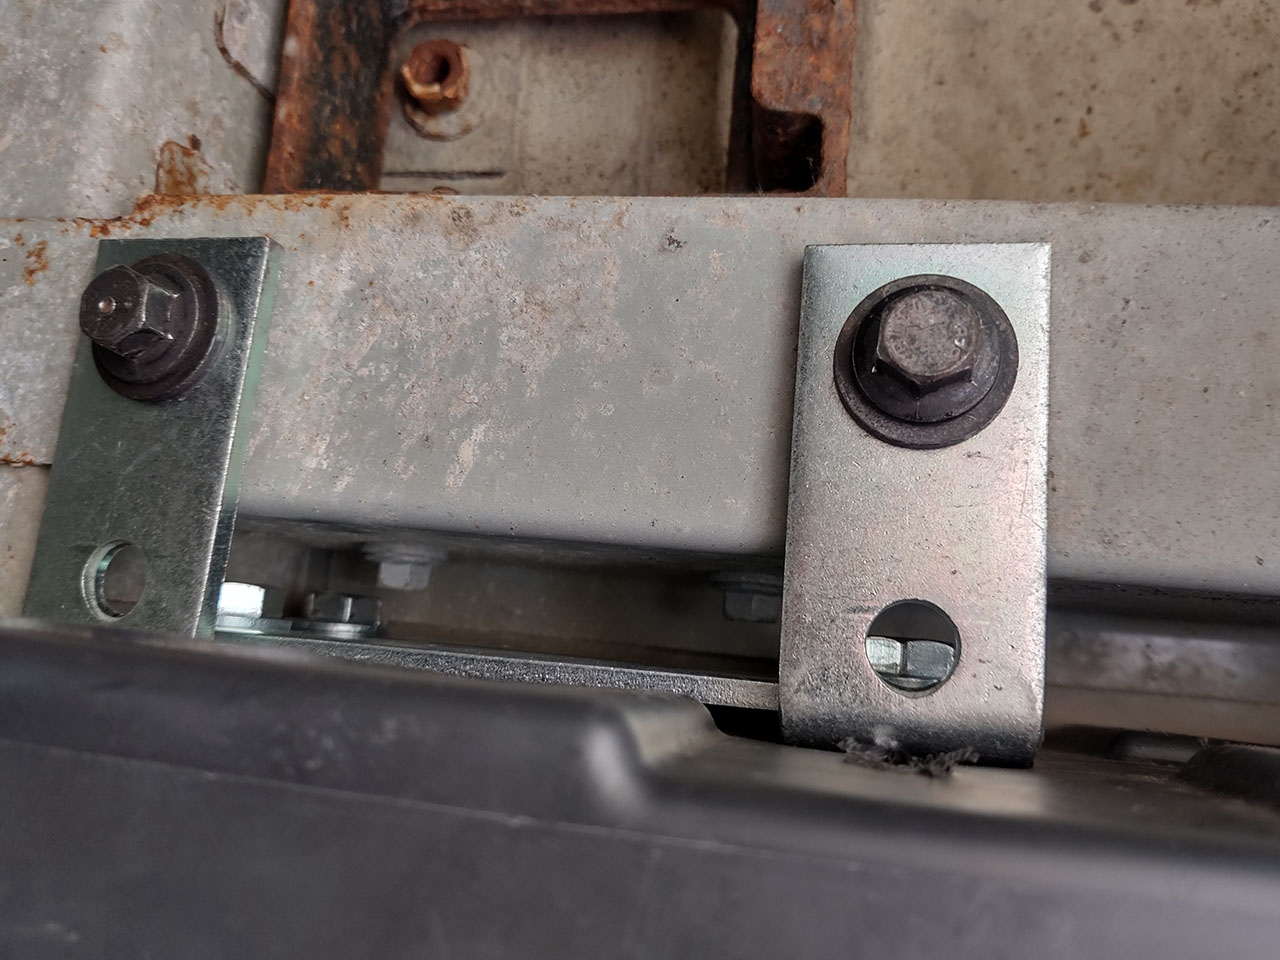
I then mounted the entire assembly to the rivnuts using M12 bolts. These bolts I used red loctite.
I think I’m going to add a metal strapping just as a backup in case the rivnuts fail or the brackets bend? (highly unlikely, they are stout).
Here are some pictures of today’s work.
Update – 8/14/2022
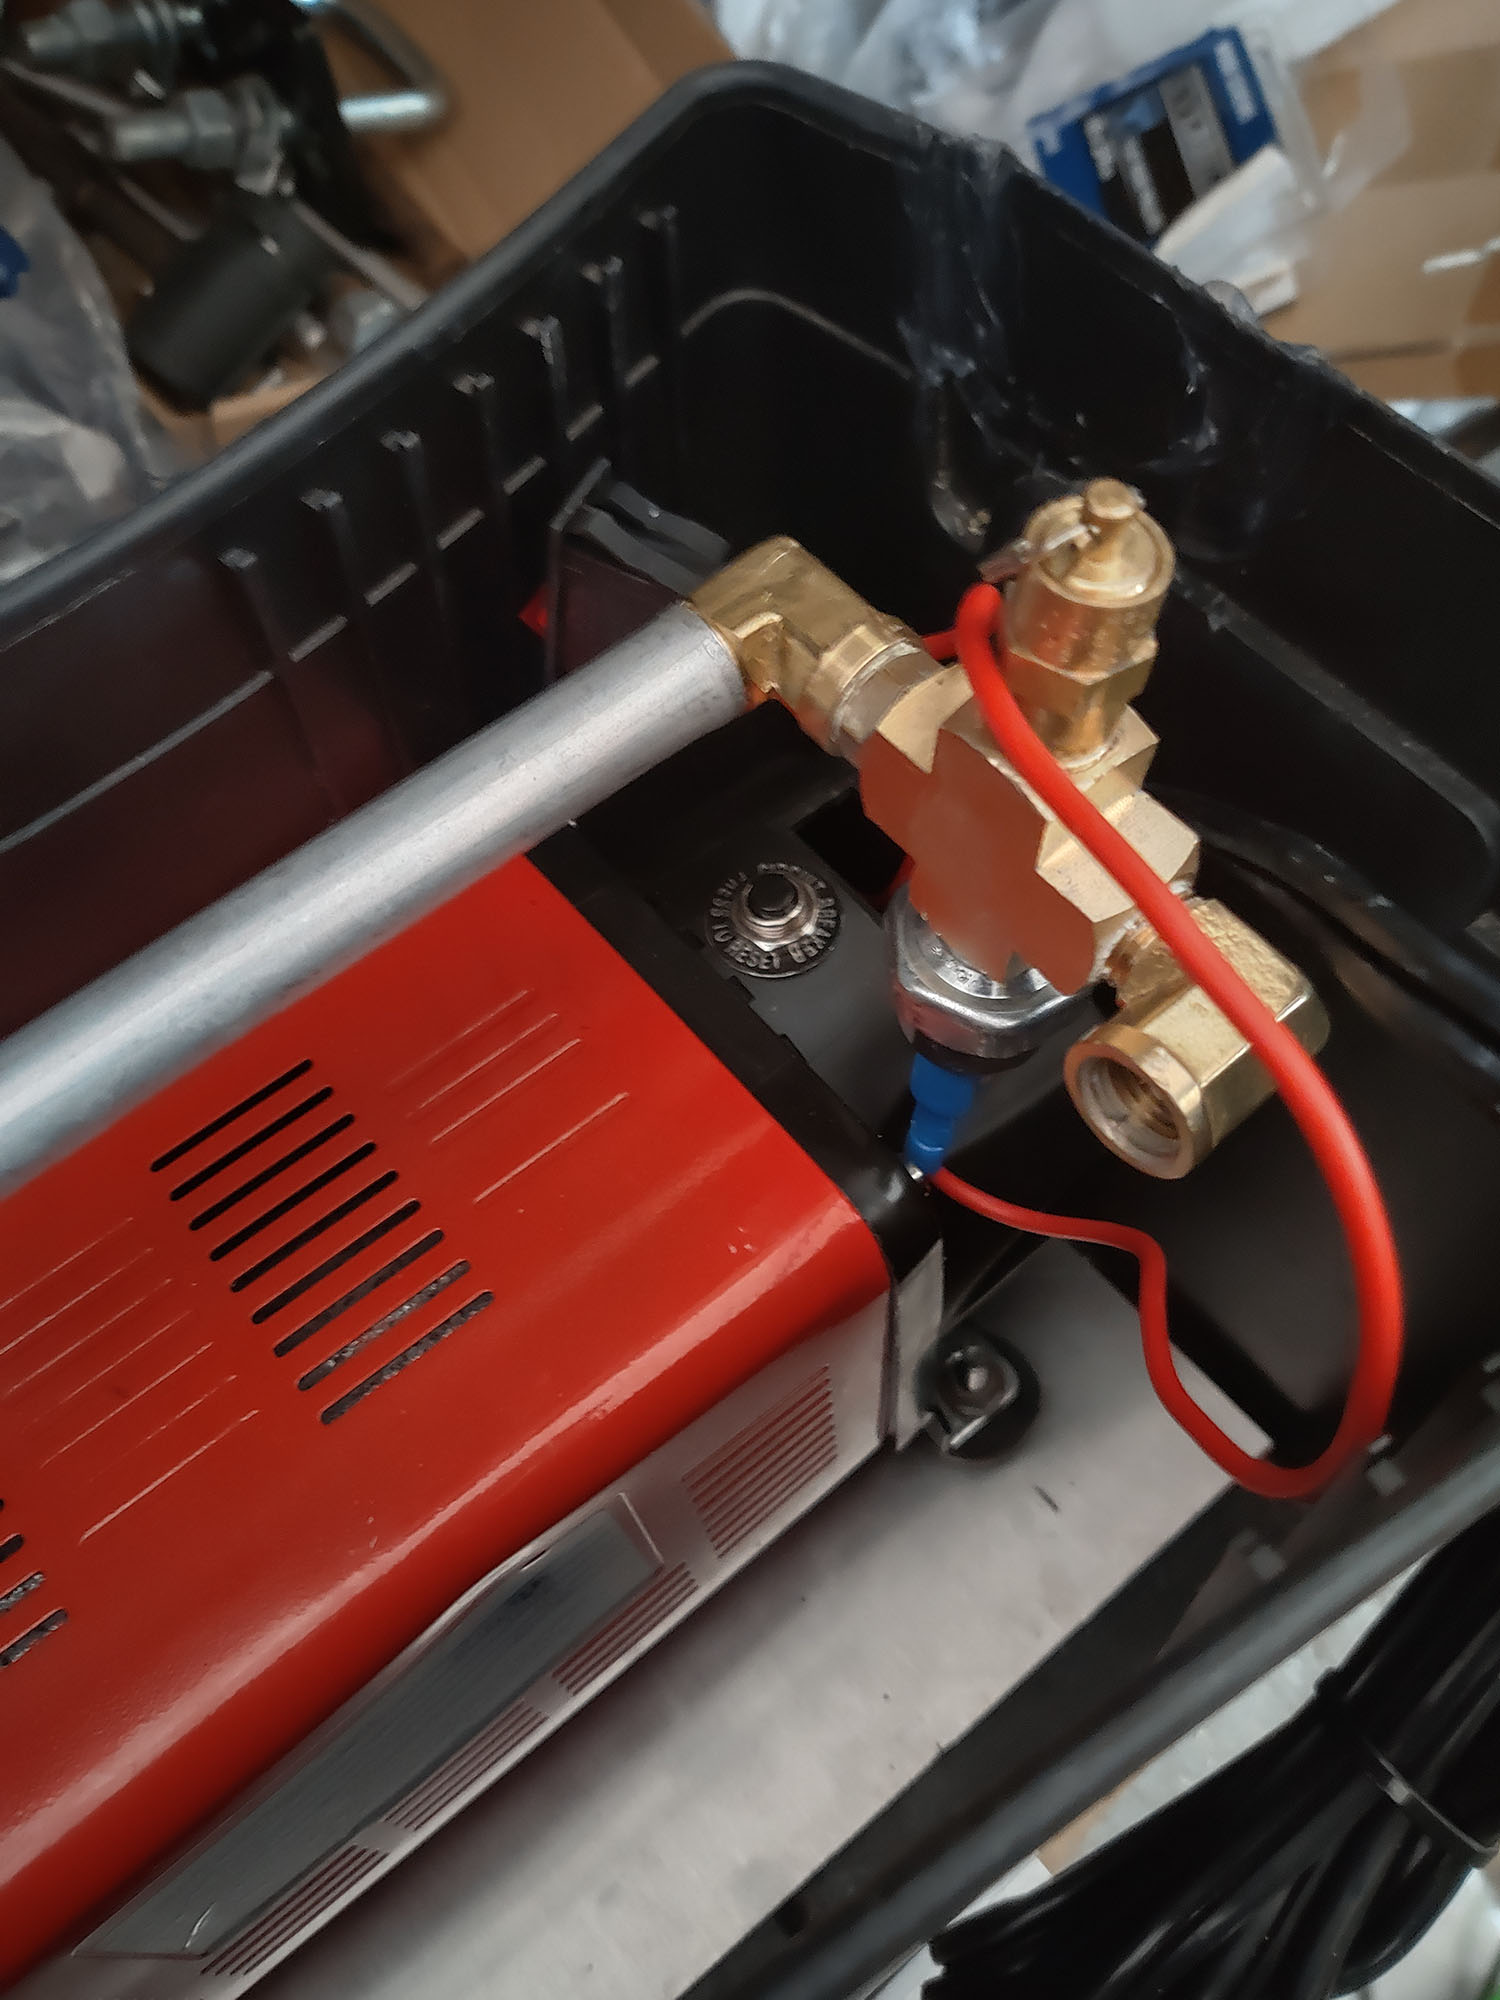
After trying to mess with Type Q or Nitto type fittings and M12 x1.0 to npt adapters, I decided to dissemble the compressor and retap the outlet pipe to NPT thread. Added a simple elbow and then the 4 port manifold with other various bits. It doesn’t leak and fits nicely within the box so I’m happy. Next is to fab a cover of sorts.
Update – 8/24/2022
Had time to make the install permanent. Like I stated above, I used a plastic battery box I had laying around (I’m trying to find the “group” number for the box and when I find it, I’ll update this post) to make a housing for compressor. I then used 3/16″ corrugated plastic for the “cover” side of the enclosure. For the actual mounting, I installed some M12 rivnuts into existing holes of the frame. I then used unistrut heavy duty brackets with a 1/4″ alumn plate (inside the enclosure) to make a frame of sorts to which the compressor and battery box mount to. The brackets then mount to the van frame using M12 bolts. For a last ditch “safety” fail, I used some metal strapping and bolted to another rivnut in case the main rivnuts fail. Initial observations are that the structure is very strong and will not be going anyway…but only time will tell.
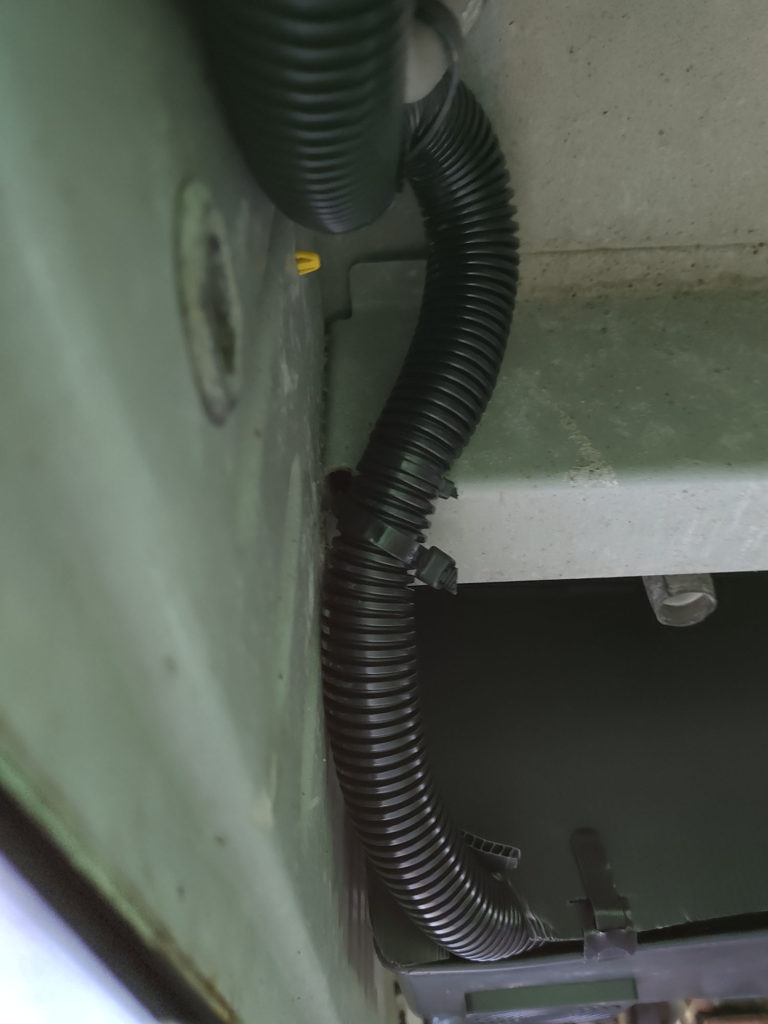
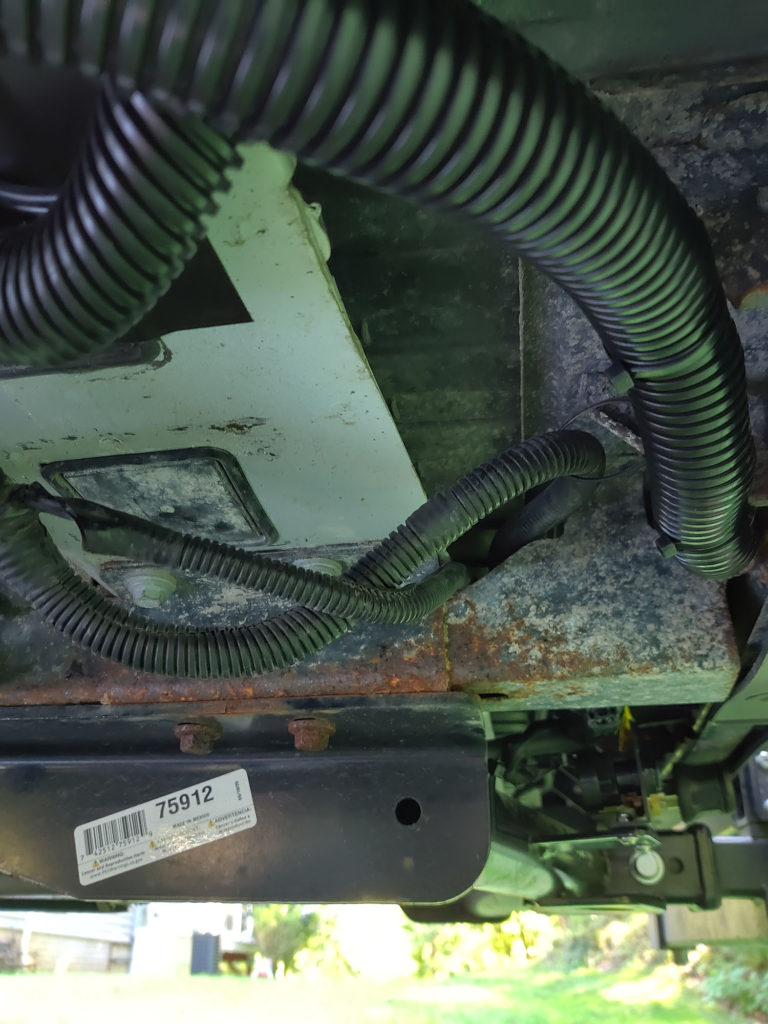
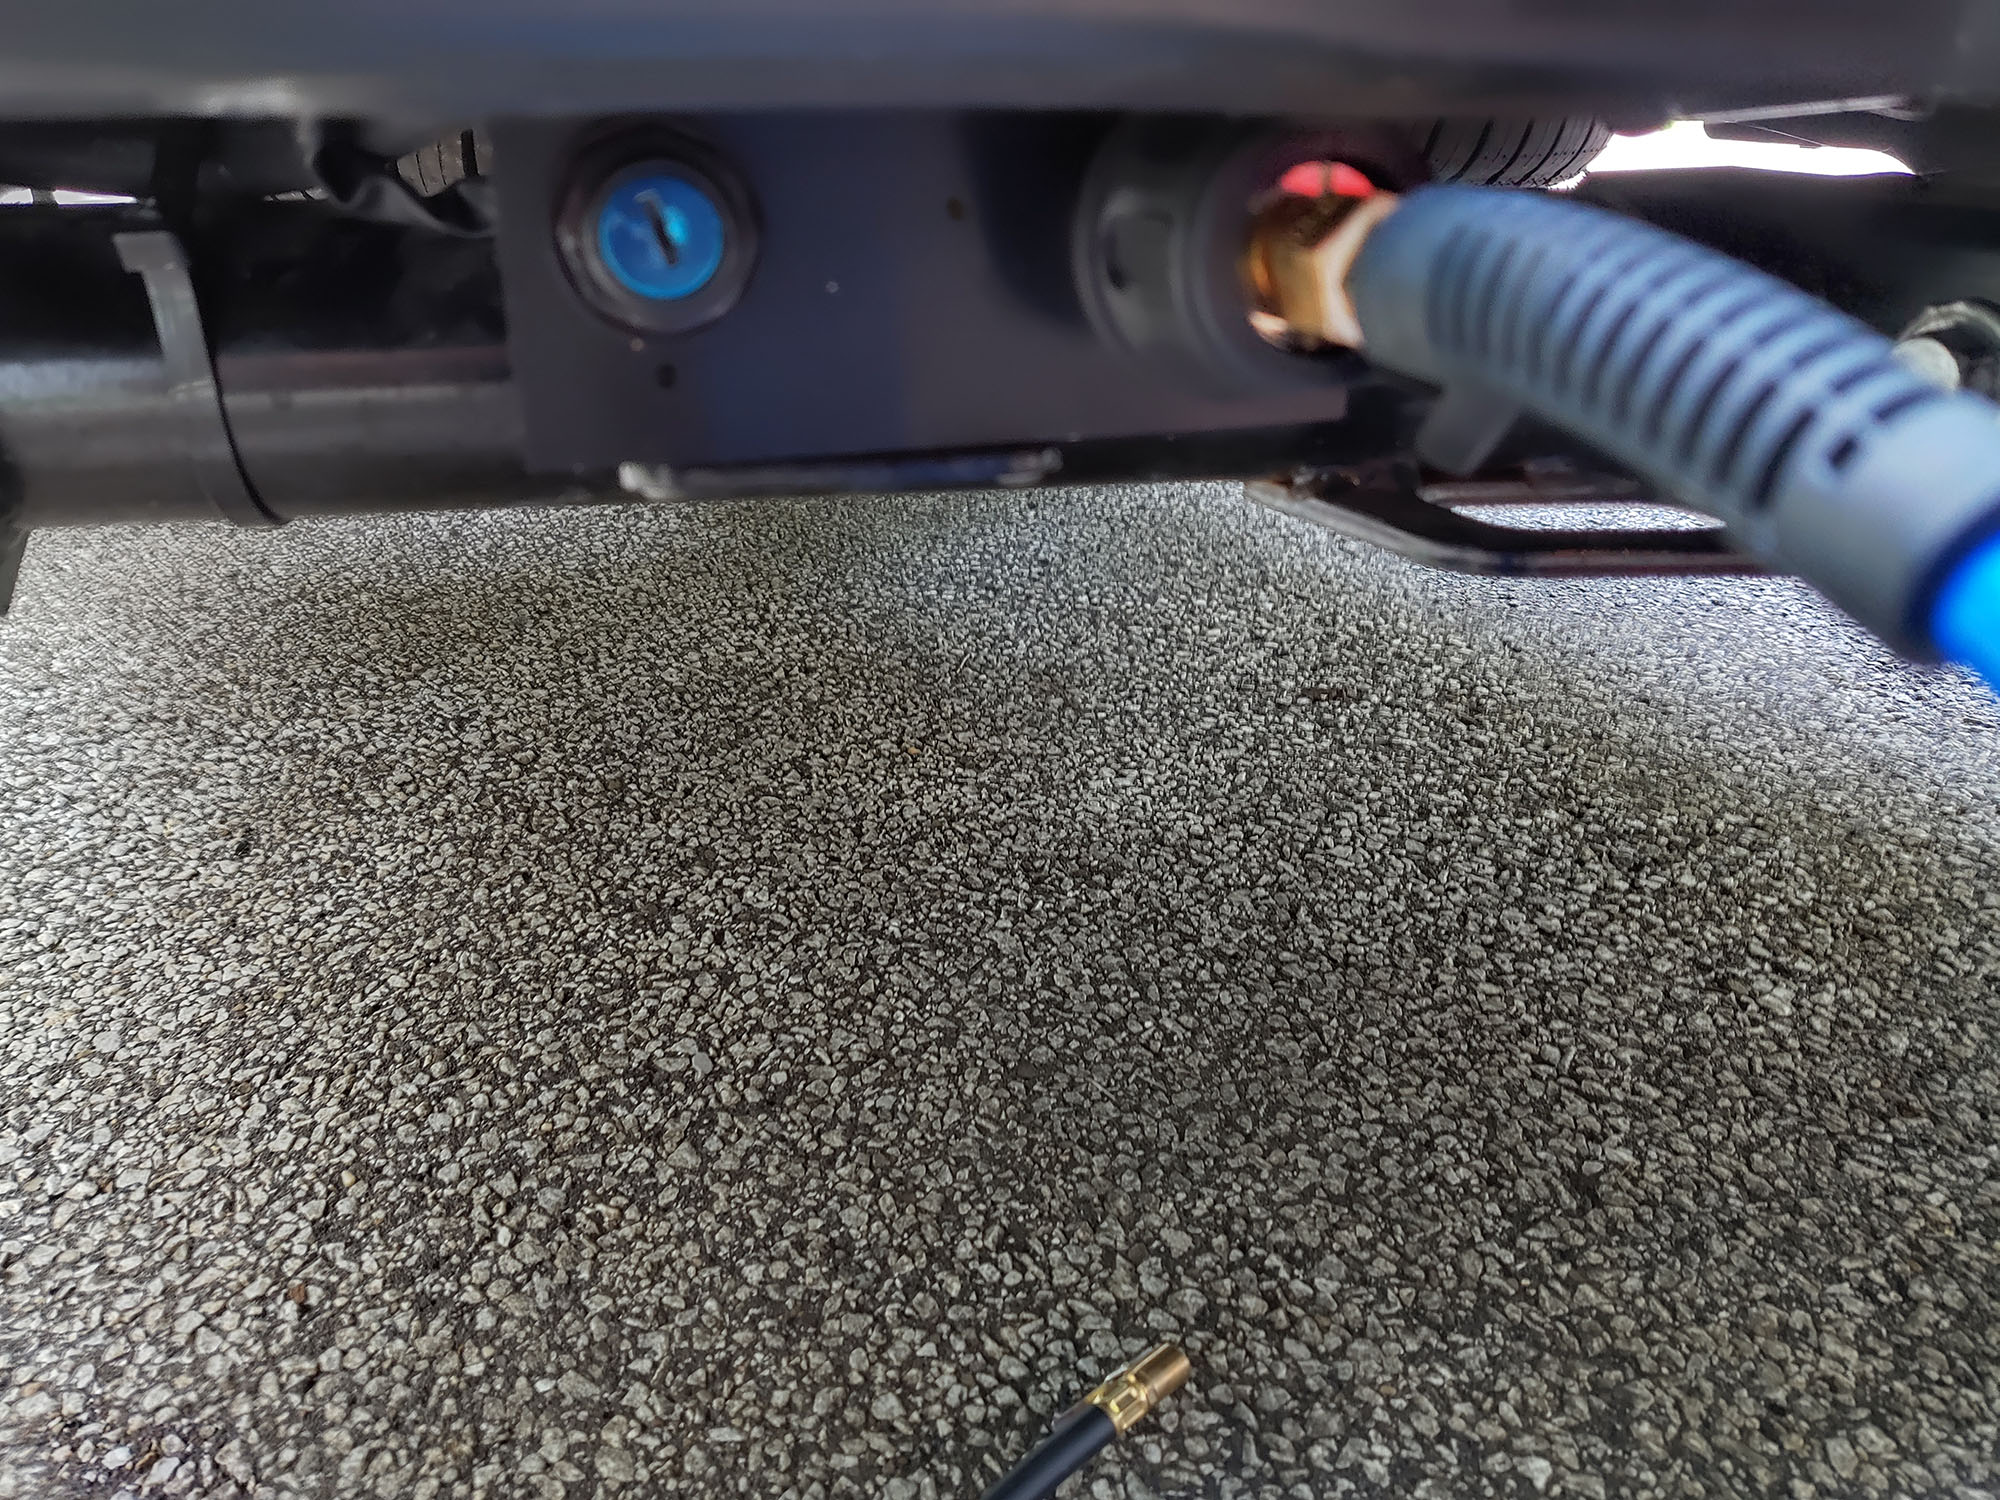
I then ran a 6′ 3/8 air hose, main power wiring and switch wiring along side the rail terminating at the rear bumper, center area. I used a scrap black anodized right angle bracket I had to mount a thru-hull npt fitting and a motorcycle ignition switch. The thru-hull npt air fitting was used to install an ARB air hose quick connect. The motorcycle ignition allows me to use a key to turn on/off the compressor. Here are some pics: